In this blog post, we’ll explore a step-by-step guide on how to frame embroidery designs. Framing your embroidery not only enhances its beauty but also protects it for years to come. Are you a beginner or a seasoned embroiderer? Learning to frame your creations well can add a pro touch to your pieces.
Embroidery designs are often crafted with care and creativity, making them unique works of art. Framing embroidery designs lets you show off these intricate works. You can use them as home decor or personalized gifts. Follow along as we detail each step plainly. This will ensure that you get the best results for your embroidered masterpieces.
Materials Needed
Before you begin framing your embroidery, gather the following materials:
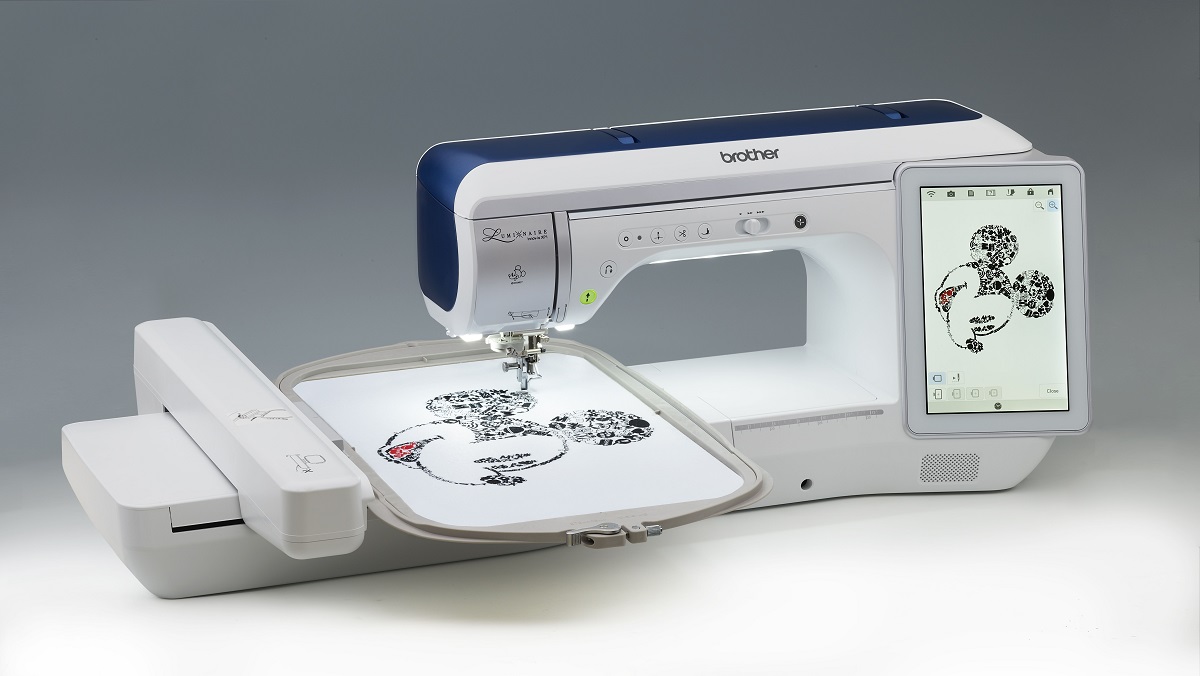
· Finished embroidery piece:
· This is your completed embroidery design, representing your creativity and craftsmanship.
· Iron:
· Use a low heat setting to gently press the embroidery on the reverse side. This helps to remove any wrinkles and ensures the fabric is smooth.
· Soft cloth or towel:
· Place this over the embroidery while ironing to protect delicate threads and prevent any direct heat damage.
· Acid-free backing board or foam board:
· Choose a board that is archival quality to provide stable support and prevent yellowing or deterioration over time.
· Frame (with glass, if preferred):
· Select a frame that complements your embroidery design and provides a protective barrier against dust, moisture, and handling.
· Double-sided tape or acid-free adhesive:
· Use this to secure the embroidery to the backing board. Ensure it’s acid-free to avoid any chemical reactions that could damage the fabric.
· Scissors:
· Have a pair of sharp scissors on hand to cut the backing board, trim excess fabric or thread, and make precise adjustments.
· Ruler or measuring tape:
· Use these tools to measure the dimensions of your embroidery and the frame accurately. This ensures a proper fit and alignment.
· Needle and thread (optional):
· Use a needle and thread to stitch the edges of the embroidery to the backing board for extra security and a professional finish.
· Pins (optional):
· Pins can be used to temporarily hold the embroidery in place while you work, ensuring it stays centered and taut.
You need these materials to frame your embroidery. They protect its threads and design. They also show it off well. Gathering them beforehand will make the framing process smoother and more enjoyable.
Step-By-Step Guide To Frame Embroidery Designs
1. Prepare Your Embroidery
To start, ensure your embroidery is clean and wrinkle-free. Follow these steps:
Clean and Press:
Gently hand wash your embroidery if necessary, following thread and fabric care instructions. Iron the embroidery on the reverse side using a low heat setting and a soft cloth to avoid damaging the threads.
2. Measure And Cut
Accurately measure your embroidery and cut the backing board to fit inside your chosen frame:
Size Your Backing:
Measure the embroidery piece. Then, cut the acid-free backing board or foam board a bit smaller than the frame’s inner dimensions. This will allow for adjustments.
3. Mount The Embroidery
Secure your embroidery onto the backing board:
Center and Secure:
Center the embroidery digitizing on the backing board and use double-sided tape or acid-free adhesive to secure the edges to the back of the board. You can also use pins or stitch the fabric in place for added security.
4. FramingF
Place the mounted embroidery into the frame:
Insert into Frame:
Carefully place the mounted embroidery into the frame. Clean the frame’s glass if applicable, and ensure everything fits snugly.
Secure the Back: Once in place, secure the back panel of the frame to prevent the embroidery from shifting.
5. Final Touches
Ensure everything is neat and ready for display:
Check for Wrinkles: Smooth out any wrinkles or bulges in the fabric before securing the back of the frame.
Display: Your framed embroidery design is now ready to be displayed proudly. Choose a location away from direct sunlight to prevent fading over time.
Tips For Best Results
Here are some additional tips to ensure your framed embroidery looks its best:
Use Acid-Free Materials:
· Opt for acid-free backing and adhesive to prevent discoloration and damage to your embroidery over time.
Avoid Direct Sunlight:
· Display your framed embroidery in a location that avoids direct sunlight to maintain its vibrant colors.
Consider Professional Help:
· If you’re framing a delicate or valuable piece, consider consulting a professional framing service. This will ensure the best results.
Conclusion
Framing your embroidery designs is a rewarding way to showcase your creativity and craftsmanship. Follow these tips. They will ensure that your embroidery digitizing pieces are both protected and beautifully displayed for years to come. Whether you’re framing for yourself or as a gift, mastering the art of framing embroidery designs will add a touch of elegance to any space.
Now, take what you’ve learned and start framing your embroidery designs with confidence!